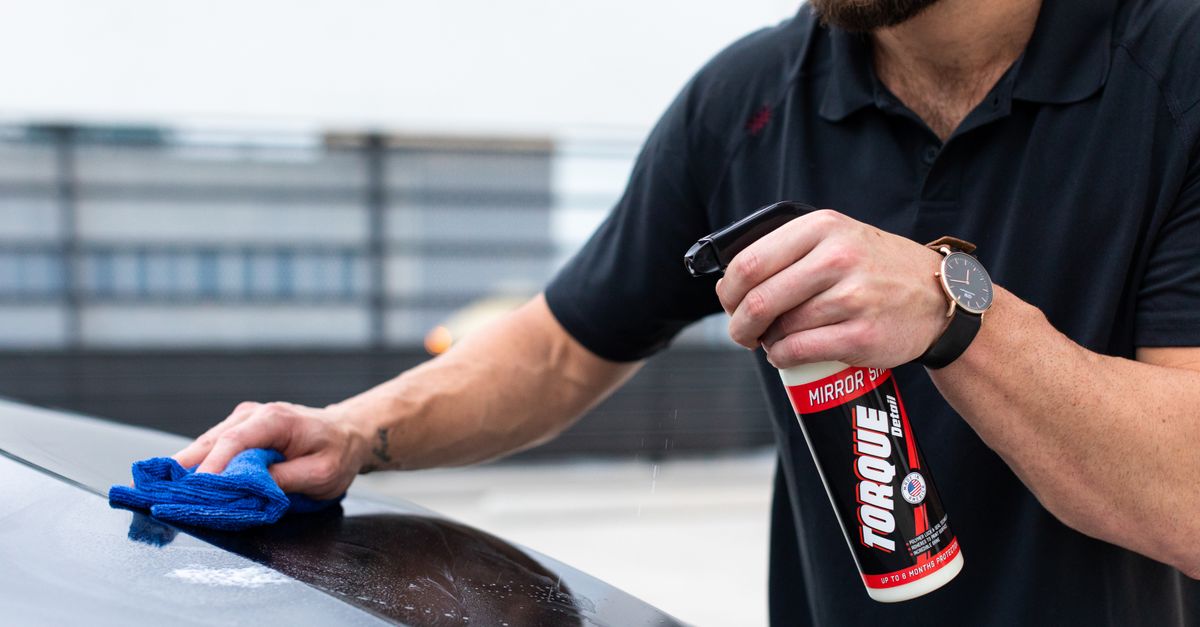
Why Your Car Windows Streak After Cleaning (And The Pro Secrets for a Spotless Shine)
You spend a good chunk of your Saturday morning washing your car. The paint gleams, the tires are dressed, and then you tackle the windows. You spray, you wipe, you buff with a microfiber towel, convinced this is the time. But as soon as the sun hits, there they are: the dreaded streaks, smears, and hazy film that make all your effort feel wasted. It’s infuriating, isn’t it? You’ve tried different cleaners, different towels, even different wiping patterns, yet the results are always the same. In my years of meticulously maintaining my family’s vehicles (a necessity with two messy kids and a dog), I’ve battled this exact frustration. I used to think I was just bad at cleaning glass, but what I learned from professional detailers and a lot of trial and error is that the common approaches to window cleaning are fundamentally flawed. It’s not about scrubbing harder; it’s about understanding the invisible residues and environmental factors at play, and then applying a precise, layered approach. This isn’t just about aesthetics; clear windows are a safety issue, especially when driving into a low sun or at night. If you’re tired of seeing the world through a smeared lens, I’m going to share the exact strategies that transformed my car windows from perpetually hazy to pristinely clear, every single time.
Key Takeaways
- Stop using multi-surface cleaners or generic glass sprays on your car windows; they often contain residues that cause streaks.
- Invest in two types of high-quality microfiber towels and dedicate them solely to glass cleaning to prevent cross-contamination.
- Clean windows in stages, starting with a heavy-duty degreaser outside and a lighter touch inside, to tackle different types of grime.
- The final buff with a clean, dry, dedicated glass towel is critical for eliminating any lingering streaks and achieving true clarity.
The Fatal Flaw: Using the Wrong Cleaners and Cloths
The biggest mistake I see people make, and certainly one I made for years, is using generic glass cleaner or, worse, an all-purpose cleaner on car windows. Many household glass cleaners contain ammonia, which can damage tinted windows or dry out rubber seals over time. More subtly, they often leave behind a residue designed to make your household glass shine, but this residue catches dust and streaks on your car glass, especially in direct sunlight. And those cheap blue paper towels? They shed fibers and just push grime around, creating a static charge that attracts more dust.
What changed everything for me was switching to automotive-specific glass cleaner and dedicated microfiber towels. Automotive glass cleaners are formulated to cut through tough road grime, insect guts, tree sap, and exhaust film without leaving behind a streaky residue. More importantly, they are safe for tinted windows and won’t dry out your rubber seals. For cloths, you need two types of microfiber: one for cleaning, one for buffing. The first should be a standard, plush microfiber for applying the cleaner and lifting dirt. The second, and this is crucial, should be a tight-weave, lint-free glass-specific microfiber towel. These towels are designed to absorb oils and liquids without leaving behind any fibers or streaks. I used to just grab any microfiber, but once I started designating specific towels for glass-only, the difference was immediately visible. Think of it like this: you wouldn’t use a kitchen sponge to wash your face; why would you use a general-purpose cloth on your delicate car glass?
The Overlooked Enemy: Invisible Interior Film
While we focus heavily on the outside of the windows, convinced that road grime is the sole culprit, the interior of your car’s glass is battling an equally insidious, often invisible enemy: interior film. This hazy layer is a cocktail of out-gassed plastics and vinyl from your dashboard and interior trim, mingled with dust, skin oils, and airborne particles from breathing, sneezing, and even vaping. It’s incredibly difficult to remove effectively with just a quick wipe, and it’s a primary source of that frustrating glare and haziness, especially when driving towards the sun. I remember countless times scrubbing the outside thinking, ‘This must be it!’ only to realize the stubborn haze was inside.
The secret to defeating interior film is a two-pronged approach: pre-cleaning and meticulous application. First, vacuum your interior thoroughly to remove loose dust that can get trapped in your cloth. Then, before you even bring out the glass cleaner, give the interior a preliminary wipe down with a damp (water only), clean microfiber cloth to lift the majority of the loose grime and any visible smudges. This prevents you from just mixing the interior film with your cleaner. For the actual cleaning, I find a slightly less aggressive cleaner, or even a diluted version of my automotive glass cleaner, works best inside to avoid overspray on sensitive interior surfaces. Spray directly onto a clean, plush microfiber towel, not the glass, and wipe in overlapping sections. For a truly professional finish, use a dedicated, dry, tight-weave glass towel for a final buff, flipping it often to a fresh side. This layered approach ensures you’re not just moving the film around, but actually removing it layer by layer. The difference in clarity, especially when driving at night, is astonishing once this film is truly gone.
The Two-Towel, Two-Pass Technique: A Game Changer
If you’re still getting streaks, it’s likely your technique, not necessarily your cleaner (assuming you’ve heeded my advice above!). The two-towel, two-pass method is a staple for professional detailers for a reason – it ensures maximum dirt removal and streak-free clarity. This is what finally took my window cleaning from ‘pretty good’ to ‘spotless’.
Here’s how I execute it:
First Pass (Cleaning): Take your primary, plush microfiber towel. Fold it into quarters to give you eight clean working surfaces. Lightly mist a section of your window (about 2x2 feet) with the automotive glass cleaner. With your folded towel, wipe horizontally across the section, applying even pressure. Immediately flip your towel to a cleaner side and wipe vertically. The goal here is to break down grime and lift it from the glass. Don’t be afraid to use a little elbow grease. For heavily soiled areas (like bug splatters on the windshield or tree sap), I might pre-treat with a dedicated bug and tar remover before the glass cleaner. The key is to lift as much dirt as possible with this first pass.
Second Pass (Buffing): Immediately after your first pass on that section, grab your second, dry, tight-weave glass-specific microfiber towel. Again, fold it into quarters. Without any additional product, buff the same section in a clean, circular motion, then finish with a straight, overlapping wipe to reveal a pristine, streak-free surface. This second towel removes any remaining cleaner residue or loosened dirt that the first towel might have left behind. It’s the critical step that polishes the glass to perfection. I always make sure to work in small, manageable sections to prevent the cleaner from drying on the glass, which is a common cause of streaks.
This method essentially cleans and then polishes, ensuring nothing is left behind to catch the light. It adds maybe two minutes to your routine but saves you from re-cleaning later.
Don’t Forget the Edges and Corners: The Sneaky Streak Traps
It’s a detailer’s adage: the edges and corners are where streaks are born. We often focus on the large, easy-to-reach parts of the window, neglecting the areas where the glass meets the rubber seals, the window frame, or the rearview mirror. These tight spots accumulate dirt, dust, and cleaner residue over time, which then wick out onto the main glass area, creating those frustrating streaks you see after the sun hits. I used to rush through these areas, only to find myself baffled by phantom streaks that appeared out of nowhere.
What truly works is a combination of precision tools and deliberate action. After cleaning the main surface of the window, take a fresh, clean corner of your dedicated glass buffing towel (or a separate, smaller detail-specific microfiber cloth). Carefully run this into the edges where the glass meets any trim or seals. Pay particular attention to the very top edge of the windows, as this is where the window rolls down and can collect a lot of grime from the felt weatherstripping. For the corners, I often use a Q-tip or a detail brush wrapped in a microfiber cloth, slightly dampened with glass cleaner, to get right into the tightest crevices. This ensures you’re extracting trapped dirt, not just pushing it deeper. For the area behind the rearview mirror, where the windshield often meets the headliner, I spray a bit of cleaner onto my buffing towel and then carefully wipe around the mirror stem and housing. This meticulous attention to the periphery of the glass is what elevates a good window cleaning to a truly streak-free, professional-level finish. It’s the difference between almost clear and perfectly clear.
The Final Polish: When to Clean and How to Inspect
Timing and inspection are the unsung heroes of streak-free windows. Cleaning your car windows in direct sunlight or when the glass is hot is a recipe for disaster. The cleaner will evaporate too quickly, leaving behind residue before you even have a chance to wipe it away. What I’ve found works best is to clean glass either early in the morning, late in the afternoon, or in the shade on a cloudy day. This gives you ample working time and prevents flash drying.
But the real secret to consistently flawless windows is how you inspect your work. After you’ve done your two-towel, two-pass technique, don’t just walk away. Critically inspect the windows from multiple angles, ideally with a strong light source. I use my smartphone flashlight for the interior and step outside to view the exterior in direct sunlight (even if I cleaned in the shade, the final check needs to be under stress). Look for any lingering haze, streaks, or missed spots. I once had a professional detailer tell me to roll the windows down a few inches after cleaning the top edge, and then clean the newly exposed top edge. This sounds obsessive, but it ensures that the strip of glass that normally hides in the seal is just as pristine. Often, those mystery streaks are simply residue from that hidden edge. If you spot a streak, don’t re-spray the entire area. Simply take a clean, dry dedicated glass towel and buff the specific streak until it disappears. This focused re-buffing is far more effective than re-applying cleaner and risking more residue. This final, critical inspection and targeted correction phase is what ensures true, long-lasting clarity that will impress every time.
Frequently Asked Questions
Q1: Can I use newspaper instead of microfiber for buffing to avoid streaks?
A1: While newspaper was a popular hack in the past due to its lint-free nature, it’s generally not recommended today. Modern newspaper ink can transfer to glass or tint, and the paper itself can be abrasive, potentially scratching modern plastic windows or delicate coatings. High-quality, tight-weave, lint-free microfiber towels designed specifically for glass are far superior and safer, providing a truly streak-free finish without any risks.
Q2: My windows still fog up internally after cleaning. What’s causing this?
A2: Persistent internal fogging after cleaning often points to lingering interior film or high humidity. Ensure you’re thoroughly cleaning the interior glass, not just the exterior. The ‘invisible interior film’ (out-gassing plastics, dust, skin oils) is a major contributor. Also, check your car’s cabin air filter; a dirty filter can reduce airflow and contribute to humidity issues, leading to more frequent fogging. Using a dedicated automotive glass cleaner designed to cut through this film, along with the two-towel method, should significantly reduce the problem.
Q3: How often should I clean my car windows?
A3: For optimal clarity and safety, I recommend cleaning your exterior windows every time you wash your car, or at least weekly if you drive frequently or in dusty/buggy conditions. Interior windows can typically be cleaned every 2-4 weeks, depending on how much you drive and if you have pets or smoke in the car. Regular, lighter cleaning prevents heavy buildup, making each cleaning session quicker and easier.
Q4: Are there any tricks for removing stubborn water spots from windows?
A4: Stubborn water spots (mineral deposits) often require more than just glass cleaner. For light spots, a 50/50 mixture of distilled white vinegar and water can work wonders. Spray it on, let it sit for a minute, then wipe and buff. For more severe hard water spots, you might need a dedicated water spot remover product or even a glass polish designed for automotive use. Always test on an inconspicuous area first and follow product directions carefully, as these products can be abrasive. The key is to tackle water spots promptly before minerals etch into the glass.
Q5: What’s the best way to clean tinted windows without damaging them?
A5: The general rule for aftermarket tinted windows is to avoid ammonia-based cleaners at all costs, as they can cause the tint to bubble, peel, or change color. Always use an automotive-specific, ammonia-free glass cleaner. Also, for the first few weeks after tint installation, use only water and a soft microfiber cloth to clean them. Once cured, always spray cleaner onto your microfiber cloth first, not directly onto the tinted glass, to minimize liquid seeping under the tint edges. Be gentle; tint film can be delicate.
Written by Clara Jenkins
Home organization, frugal living, practical consumer advice
A former home economics teacher, Clara brings decades of experience in household management and savvy consumer choices.
You Might Also Like
Why Your Car Windows Are Fogging Up (And The Simple Fixes Most Drivers Miss)
Ever wondered why your car windows fog up constantly? This deep dive explains the real culprits and offers practical, lasting solutions.

Why Your Home Humidifier Isn't Working (And The Simple Fixes Most People Miss)
Is your humidifier struggling to raise humidity levels? Discover the overlooked reasons and simple fixes to get your unit working effectively.

Why Your Home Heater Isn't Keeping You Warm (And The Hidden Culprits Nobody Talks About)
Struggling to keep your home warm despite running the heater? Discover the overlooked issues costing you comfort and money.